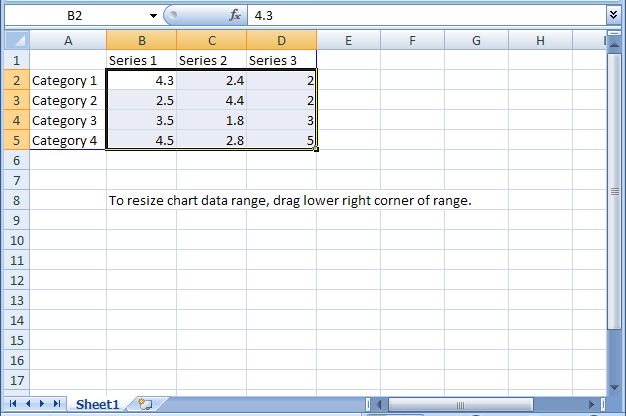
Do you get bored and aggravated spending endless hours writing, or typing the same letter on a computer, but and then having to edit the names? Microsoft Office Word makes this all easier with it's Start Mail Merge Function that is located in the Mailings Menu. This function only requires 8 easy steps which are very simple to follow. The 1st step is to make sure that you have a Word Document Open and and Excel Document or any other type of document which will be providing the data to be used in the letter. Once you have done so, you can proceed to open the Mailings Tab/Menu in Microsoft Word, and select the Start Mail Merge Option which will present you with more options for your desired mailing type. The 2nd step takes place once you have selected your desired option and requires you to once again go to the Start Mail Merge option, but instead, you have to click on the Step by Step Mail Merge Wizard Option. This will then open a wizard at the right side of the document window, which will guide you through the Mail Merging process, providing you with 6 new steps. The 1st step is to Select Your Document Type which can be either Letters, Email Messages, Envelopes, Labels, and Directory. Once you have selected the document type, you can proceed to the 2nd step. The 2nd step asks you how you would like to proceed with your letters, as in keeping the current document or applying a template and then you have to select one to go on to the third step. The 3rd step ask you to select recipients, and that is where your data documents/Excel document comes in handy so that you can select your recipients from there. Once you have selected your recipients you can proceed to the 4th step, which is writing your letter. At the 4th step, you must select the 4th option which is More Items, and that will once again display your data from the data/Excel document. You insert the data in your desired location of the document, and then new text will be added to the document. For example, if you want to enter names next to dear, something like "Dear Names", will appear and if you want to enter an action, something like "Thank you for Actions" will appear. Once you are finished with this, you can proceed to the 5th step, and that step is Preview Your Letters, and this steps shows you have your letters will look when finalize and lets you make last minute adjustments such as excluding an action or recipient. You can go on to the 6th and final step, which is Complete Merging, and then close the wizard and print out or mail your letters. In any case that you would like to preview your letters again, you can go back to the Mailings Menu, and a new option will be available, and it says Preview Results, and you can once again see all your letters, with their corresponding recipients.